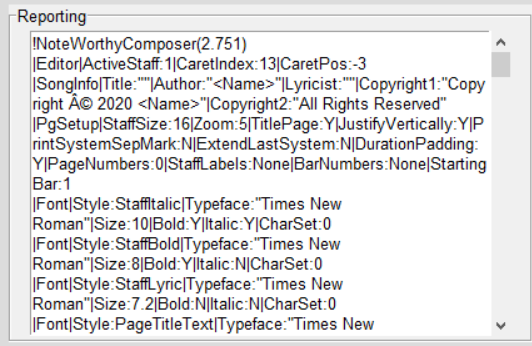
Running PYNWC
Once you have established the necessary actions for Installing PYNWC, you’re ready to use PYNWC.
In NWC, go to the User Tool Window (‘Menu Tools/User Tool…’ or Alt + F8).
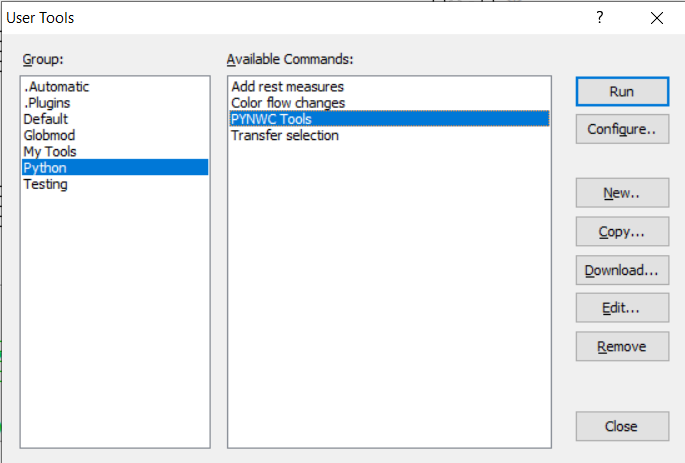
Select the PYNWC Tools entry and click ‘Run’.
This will open the ‘PYNWC Tools’ window:
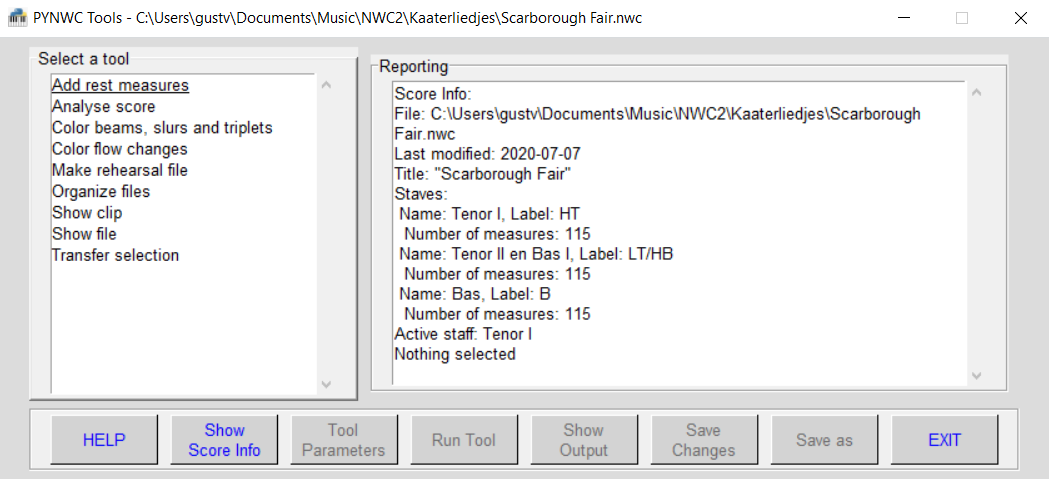
This window consist of following parts:
A frame ‘Select a tool’ with the available tools
A reporting frame
A series of buttons
Upon opening, the reporting window already shows some information about the score: File path, last modified, song title, the staves with the number of measures in each staff, the active staff and which part is selected.
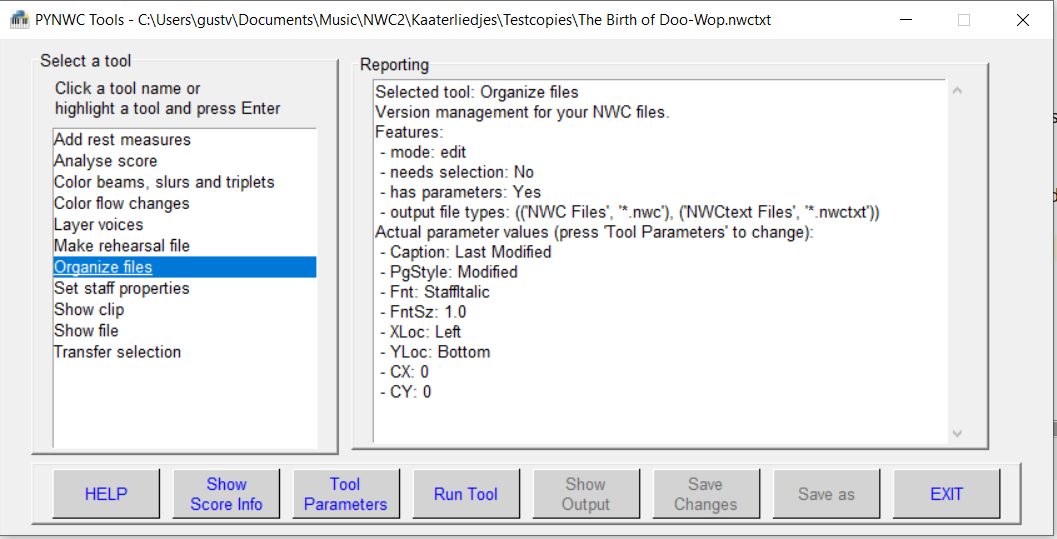
If you select a tool, the reporting frame shows a description of the selected tool:
When you press a button:
‘HELP’:
If you haven’t selected a tool yet, it shows general information about the PYNWC tools environment.
If you have selected a tool, the help information for that tool is shown. Via radio buttons you can switch between information for the tool and the the general help information.
‘Show Score Info’: The reporting frame will show the same information as upon opening the PYNWC window.
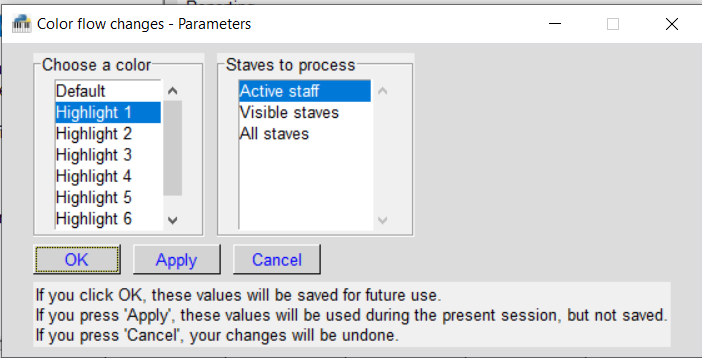
‘Tool Parameters’: Opens the Parameters window (if the selected tool uses parameters, otherwise the button is disabled).
This window has 3 buttons: ‘OK’, ‘Apply’ and ‘Cancel’.
Via the button ‘OK’ you can save your changed parameter values (thy will be stored in the configuration file ‘nwcconfig.txt’, in the same folder as the input file).
Via the button ‘Apply’ you can use the changed values without storing them in the configuration file.
When you press ‘Cancel’, your changes will be ignored.
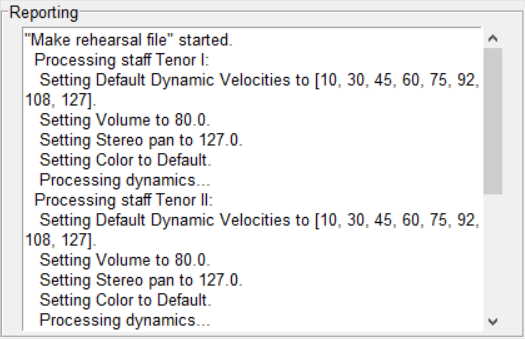
‘Run Tool’: Runs the selected tool. The reporting frame will show the actions that are taken by the tool and a summary. Changes to the file aren’t performed until you save these changes.
‘Show Output’:
This button is enabled when the tool has changed the score or had produced a text report.
If the tool changed the score, the resulted outputfile is shown in nwctxt format. You may inspect this before you save the changes.
If the tool produced a text ‘report’, this report is shown.
‘Save Changes’:
This button is enabled when the tool has changed the score.
It opens a confirmation window. If you confirm, the changes are saved in the input file.
‘Save as’:
You can save the output of a tool to another file via this button.
The file extension is determined by the ‘File Types’ feature of the tool.
‘EXIT’:
If you’ve run a tool that changed your score and you did not save it, a popup window will ask if you want to do this.
Example of a Parameter Window:
Example of the reporting frame after running a tool:
Example of the reporting frame after clicking ‘Show Output’:
